How to Print on Silk Without Damaging It
Blog post description.
7/30/20251 min read
How to Print on Silk Without Damaging It
Printing on silk can elevate any project, from fashion to home décor, but it requires careful handling to avoid damaging the delicate fabric. Here are essential tips for printing on silk effectively:
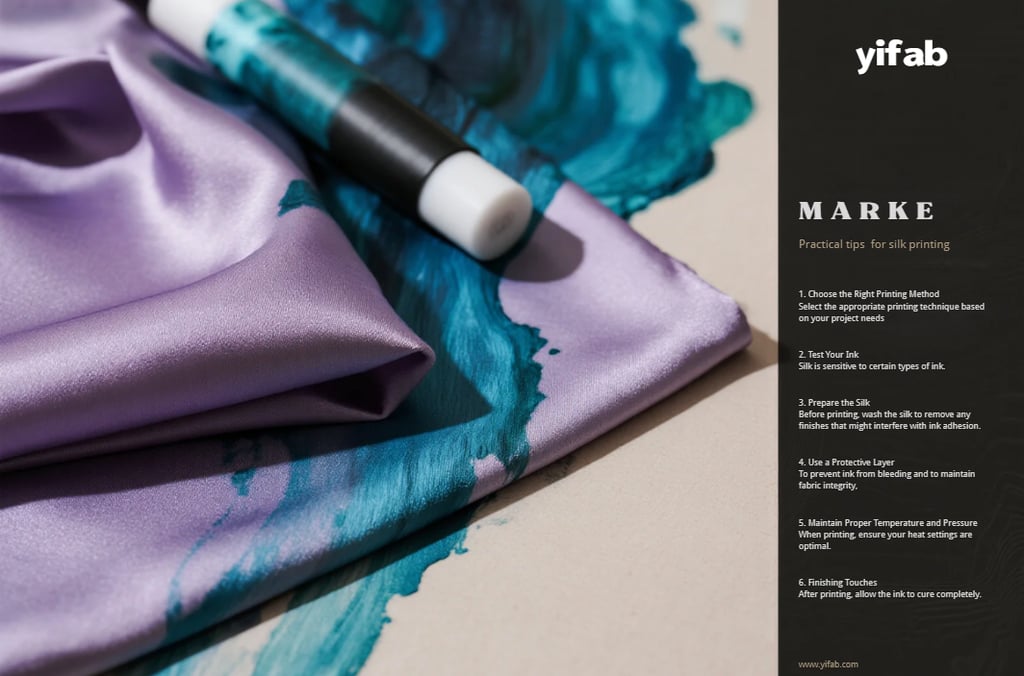
1. Choose the Right Printing Method
Select the appropriate printing technique based on your project needs. Techniques like screen printing, digital printing, and dye-sublimation work well for silk. Each method has its pros and cons, so research to find what suits your design best.
2. Test Your Ink
Silk is sensitive to certain types of ink. Always run a test print with your chosen ink to ensure compatibility. Water-based inks tend to be gentler on silk, providing vibrant colors while minimizing damage.
3. Prepare the Silk
Before printing, wash the silk to remove any finishes that might interfere with ink adhesion. Use a mild detergent and let it air dry. Smooth out wrinkles with low heat if necessary.
4. Use a Protective Layer
To prevent ink from bleeding and to maintain fabric integrity, place a protective layer between the silk and your printing surface. A piece of cardboard or a thin sheet can help absorb excess ink and protect the fabric.
5. Maintain Proper Temperature and Pressure
When printing, ensure your heat settings are optimal. If using a heat press, adjust the temperature to a lower setting to avoid scorching the silk. Additionally, apply even pressure to create a uniform print without damaging the fibers.
6. Finishing Touches
After printing, allow the ink to cure completely. Follow your ink manufacturer’s recommendations for curing times. If needed, wash the silk gently by hand afterward to set the colors, maintaining the quality of your print.By following these tips, you can successfully print on silk while preserving its exquisite qualities. Happy printing!